
The Meermin Revolt of 1766: An Attempt to Sail Back to Freedom
On February 18, 1766, enslaved Malagasy people aboard the Dutch East India Company ship Meermin were handed weapons and told to clean them. They refused to give the weapons back. Within hours, the ship’s human cargo had become an organized force trying to reverse the voyage that was carrying them into slavery at the Cape.
The uprising succeeded in seizing much of the vessel and forcing the surviving European crew into negotiations. It failed only after the crew secretly steered toward South Africa instead of Madagascar and then used shore signals to complete a second deception. The survivors were recaptured, and the Meermin was lost on the southern Cape coast.
At a Glance
Uprising: February 18, 1766
Voyage: Madagascar to the Cape Colony
Vessel: VOC hoeker Meermin
Enslaved people aboard: About 140; exact count disputed
Principal surviving leaders: Massavana and Koesaaij
Goal: Return to Madagascar and freedom
Immediate result: Enslaved people seized much of the ship and forced negotiations
Final result: Deceived toward the Cape, recaptured near Struisbaai, survivors returned to slavery or confinement
Casualties: Source-variable; a modern heritage register gives 24 crew and 28 enslaved people dead
Classification: Shipboard uprising and attempted self-liberation
Presentation: Sensitive
A Slave-Trade Voyage from Madagascar
The Meermin belonged to the Dutch East India Company, the VOC. Although the Company is often remembered for spices and long-distance commerce, its Cape operations also depended on slavery. VOC ships sailed to Madagascar and Mozambique to acquire people for forced labor in the Cape Colony. The Meermin was one of those ships.
In 1765 it left the Cape on a slave-trading expedition to Madagascar. By January 1766, approximately 140 Malagasy men, women and children had been brought aboard for transport south and west toward the Cape.
Some modern exhibition material gives 146 rather than 140. The difference is real and should not be hidden.
Why the Exact Number Is Hard to Fix
VOC records treated enslaved people as commercial property, and official cargo accounting was not always complete. Private or undeclared slave trading by officers could further complicate manifests. Later references even preserve a witness estimate of about 150 people aboard. For that reason, about 140 is the best concise description, not a claim that a perfect passenger list survives.
Life Aboard Was Organized Around Profit
The enslaved people were initially confined and shackled. Disease threatened to kill people before they could be delivered to the Cape. From the VOC’s perspective, every death was also a financial loss.
Senior officers therefore made an extraordinary decision. A large group of the Malagasy captives was allowed above deck and left unchained for extended periods.
The relaxation of confinement was not freedom. It was an attempt to keep enslaved people alive and useful during transport.
The Officers Lost Control Before the Revolt Began
Modern historian Andrew Alexander argues that the Meermin’s command structure had become dangerously lax. Captain Gerrit Christoffel Muller was ill for part of the voyage. Senior merchant Johann Godfried Krause exercised broad authority and repeatedly ignored ordinary slave-transport precautions. Enslaved men were used for shipboard work.
The separation between captive and crew spaces became unusually weak. The final decision was catastrophic.
February 18: Weapons for Cleaning
The Meermin carried Malagasy weapons acquired during the trading expedition. Krause ordered some of those weapons—described in the sources as assegais or spears and swords—to be brought on deck. Enslaved Malagasy men were told to clean them. They did.
Then the crew demanded the weapons back. The men refused. The uprising began.
The Opportunity Becomes a Revolt
The violence spread rapidly across the upper ship. Krause was killed. Other members of the crew were killed or wounded. Captain Muller was badly wounded but survived.
The enslaved people took effective control of much of the vessel. This was not an accidental brawl that became larger than intended. Later scholarship finds evidence of recognizable leadership and a shared objective.
Three Leaders
The colonial record identifies three principal leaders. Two are named:
Massavana
and:
Koesaaij.
The third, described in later scholarship as the overall ringleader, was killed after going ashore near the Cape. His name is not securely established in the source stack used here. That absence should remain visible.
Massavana in the Archive
Massavana became the best-documented individual in the aftermath. VOC authorities interrogated him after recapture. A Dutch archival transcription preserves the record of his questioning, and historian Nigel Worden has noted that the judicial file even preserves the mark Massavana made as a signature. That trace is unusual.
Most enslaved people aboard the Meermin appear in the surviving record as numbers rather than named individuals.
A Collective Action
Massavana’s survival in the documents can make the revolt look like one man’s story. It was not.
Alexander’s comparative study of Malagasy shipboard uprisings argues that the Meermin revolt showed organized leadership and broad participation. The uprising moved too rapidly and coherently to be understood only as random individual violence. The people aboard shared a concrete goal:
make the ship take them back to Madagascar.
The Crew Falls Back to the Gunroom
Not every European was killed. A group reached the gunroom, sometimes described as the constable’s room. There they retained access to firearms and gunpowder. The position prevented the enslaved people from simply eliminating all remaining resistance.
It also created a new problem. They had seized the ship but could not confidently navigate it across the open ocean without experienced sailors.
Freedom Required Navigation
Taking physical control of a vessel and sailing it are different achievements. The Malagasy captives had maritime knowledge of their own, but the surviving record indicates they could not navigate the Meermin back across the ocean without European assistance. The crew could not retake the whole vessel. The people in revolt could not safely reach Madagascar alone.
That stalemate produced negotiation.
The Bargain
The surviving Europeans agreed to sail the Meermin back to Madagascar. In return, the revolt’s leaders would spare them. The bargain is one of the clearest pieces of evidence for the uprising’s purpose. The ship was not the final prize.
Home and freedom were.
The Promise Was False
The surviving crew had no intention of returning to Madagascar. They used their navigational knowledge to steer toward southern Africa. The plan depended on deception. If the Malagasy people aboard could be convinced that the land eventually appearing over the horizon was Madagascar, the crew might be able to bring the ship within reach of colonial authority.
After several days, land appeared. It was the southern Cape coast.
Suspicion
Later reconstructions describe some of the Malagasy leaders becoming suspicious. The coastline did not look right. The orientation of sunrise and the birds seen near land have been cited as reasons for doubt. Those details survive through later-recorded testimony rather than a Malagasy journal, so they should not be narrated as if an eyewitness diary exists.
The broader point is secure: the deception was not accepted without question.
A Shore Party Goes First
The Meermin anchored offshore near Struisbaai. A substantial Malagasy shore party went to investigate. Sources commonly place the number between 50 and 70. They were supposed to determine whether the land was safe and signal those who remained aboard.
The plan made sense if the shore was Madagascar. It was disastrous on a coast controlled by the VOC.
The Shore Is Not Madagascar
The landing party encountered settler farms and colonial resistance. Local farmers and burghers had already noticed the distressed or unusual ship offshore. Militia forces were organized. Some of the Malagasy who came ashore were shot.
Others were captured. One of the revolt’s three principal leaders was killed. The first deception had now produced the division of the revolt into two vulnerable groups.
The People Still Aboard Wait for a Signal
Those remaining on the Meermin did not immediately know what had happened ashore. They expected the landing party to send boats back or provide a signal if the coast was safe. The surviving European crew understood that expectation. They turned it into the decisive trap.
Messages in Bottles
The Europeans wrote letters describing the situation aboard. They sealed them into bottles and threw them into the sea, relying on currents to carry them ashore. At least two messages were recovered. The requests were specific.
The shore force was asked to light three fires and remain concealed enough that the Malagasy people aboard would believe their companions had reached friendly ground.
Three Fires
The fires appeared. For those aboard, the expected signal had finally arrived. The Meermin was allowed to move toward shore. The anchor cable was cut in the reconstructed sequence, and the ship drifted toward the coast.
The vessel grounded on a sandbank. The people aboard could now see that armed colonial forces were waiting. The promised Madagascar had become a trap.
The Last Fight
The deception triggered renewed fighting aboard. The surviving crew was now close enough to shore support that time favored them. After further struggle, the remaining Malagasy surrendered. The uprising had lasted for roughly three weeks from the February seizure to the final recapture.
Temporary control of the vessel had not become lasting freedom.
The Count of the Dead
No single casualty figure deserves to be printed without attribution. A modern Dutch heritage register for South African shipwrecks gives:
53 crew aboard
140 enslaved people aboard
and:
24 crew dead
28 enslaved people dead.
A scholarly review of Dan Sleigh and Piet Westra’s The Taking of the Slaver Meermin, 1766 gives twenty-four crew deaths but says thirty-one enslaved people died. Those numbers are close, but not identical. Taken together, the evidence supports roughly two dozen European crew deaths and roughly thirty deaths among the enslaved Malagasy people.
Did 112 Survive?
Later reconstructions often state that 112 enslaved people reached the Cape alive. That figure is mathematically consistent with a starting count of 140 and twenty-eight deaths. But the starting count itself is disputed. If 146 or a higher witness estimate is used, the arithmetic changes.
So 112 is useful as one reconstruction, not as an uncontested master roster.
Recaptured
The surviving Malagasy people were not freed after surrender. They were recaptured into the system that had purchased and transported them. For most, later individual outcomes are poorly documented. The archive is far more interested in the legal responsibility of European officers and the identification of revolt leaders than in reconstructing the lives of every surviving captive.
That imbalance is part of the history.
Massavana and Koesaaij
VOC officials singled out Massavana and Koesaaij. Both were sent to Robben Island. The stated purpose included observation and further investigation of how the revolt had arisen. Massavana died there in December 1769.
Koesaaij remained confined on Robben Island for roughly two more decades. Neither outcome can be described as freedom.
Why Were They Not Executed?
The absence of mass judicial execution is striking given the scale of the revolt. It should not be interpreted as enlightened mercy. The VOC needed enslaved labor, evidence against particular individuals was uneven, and officials were trying to understand how their own shipboard discipline had collapsed. The surviving enslaved people remained subject to coercive control.
The Europeans Go on Trial
The VOC’s Council of Justice turned its attention to the officers. Captain Muller and mate Daniel Carel Gulik were found culpably negligent. They lost rank, pay or employment and were removed from VOC service in the relevant judgment. Olof Leij was also dismissed.
The Company’s conclusion was unavoidable: the revolt had been made possible by extraordinary failures of shipboard control.
Krause Could Not Be Tried
Johann Krause had died during the revolt. Modern scholarship places much of the operational responsibility on him. He had encouraged the relaxation of confinement and then ordered enslaved people to handle the very weapons used in the uprising. The fact that his decision created the opening should not obscure the agency of the people who used it.
An opportunity is not the same thing as an uprising. They made the decision to act.
The Wreck
The grounded Meermin could not be restored to service. VOC authorities salvaged weapons, rope and other useful material. The vessel was abandoned and broke apart in the Struisbaai sands. Centuries later, archaeologists searched for its remains.
The Search for the Meermin
Iziko maritime archaeologist Jaco Boshoff led a major search for the wreck in the 2000s. The project used documentary research and archaeological survey. Potential wreck material was investigated, but no discovery in the source stack used here securely identifies the Meermin. The wreck remains historically important precisely because it has not yielded a simple archaeological solution to the documentary questions.
An Archive Written by Enslavers
Almost everything known in detail comes from records created by the VOC or by historians interpreting them. That means words such as “mutiny,” “cargo,” “ringleader” and “murder” often arrive through the institution whose commercial system enslaved the people aboard. Those records are indispensable. They are not neutral.
A careful reconstruction can use them without adopting their moral viewpoint.
Evidence, Myth and What the Sources Support
Were exactly 146 enslaved people aboard?
DISPUTED
Iziko/Brown exhibition material gives 146, while major scholarship and a modern heritage shipwreck register use approximately 140. Some later references preserve witness estimates near 150.
Was the uprising just a spontaneous fight over weapons?
MYTH
The weapons provided the immediate opening, but scholarship identifies organized leadership and a collective objective: compel the surviving crew to return the ship to Madagascar.
Was Massavana the only leader?
MYTH
Massavana is the best-documented surviving leader, but Koesaaij was also identified as a leader and scholarship describes a third principal leader killed after going ashore.
Did the enslaved people seize the ship to become pirates?
MYTH
Their stated demand was to be taken back to Madagascar and released from captivity.
Did the enslaved people completely control every part of the ship?
MYTH
They controlled much of the vessel, but surviving Europeans retained a defensible gunroom position with weapons and gunpowder.
Did the crew really agree to return to Madagascar?
DOCUMENTED
The negotiated settlement involved sparing the surviving Europeans in exchange for sailing the ship back toward Madagascar.
Did the crew keep that promise?
MYTH
They secretly navigated toward the Cape.
Did one deception end the revolt?
MYTH
The defeat developed in stages: false navigation toward the Cape, capture of the first shore party, then bottle messages and deceptive signal fires that brought the remaining people aboard toward the armed shore.
Were exactly 28 enslaved people killed?
DISPUTED
A modern heritage register gives 28, while a scholarly review of a major book gives 31. Both support a total of roughly thirty deaths.
Did exactly 112 enslaved people survive?
DISPUTED
112 is common in later reconstructions and follows from 140 minus 28, but the starting population and death count are themselves source-variable.
Were Massavana and Koesaaij freed after the revolt?
MYTH
Both were sent to Robben Island. Massavana died there in 1769; Koesaaij remained imprisoned for roughly twenty more years.
Has the wreck of the Meermin been definitively found?
MYTH
Archaeological searches have investigated likely areas and anomalies, but no securely identified Meermin wreck is established in the sources used here.
What the Revolt Achieved
The people aboard the Meermin did not win lasting freedom. They did break the shipboard regime that was transporting them into slavery. They killed or drove back much of the crew. They compelled negotiations.
They made return to Madagascar the condition for sparing the survivors. For several days, the direction of the voyage was a contested political question rather than a VOC order. The revolt failed because the surviving crew retained a combination the Malagasy captives did not possess: guarded access to gunpowder, specialist navigation and the ability to communicate with a colonial state waiting on shore. That does not make the episode a failed curiosity.
It makes it a documented attempt by enslaved people to turn the machinery of their forced transportation back toward home.
Evidence discipline
What the record supports
Status labels distinguish secure conclusions from uncertainty and rejected claims. Color is never the only signal.
DISPUTED
Exactly 146 enslaved Malagasy people were aboard Meermin.
Iziko/Brown exhibition material gives 146, while major scholarship and a modern heritage shipwreck register use approximately 140; some witness traditions are higher.
Sources: SRC-002, SRC-003, SRC-004, SRC-005MYTH
The uprising was a spontaneous fight with no shared objective.
Scholarship identifies recognizable leadership and a coherent demand that the ship be sailed back to Madagascar.
Sources: SRC-002MYTH
Massavana was the only leader.
Koesaaij was also identified as a leader, and a third principal leader was killed after going ashore.
Sources: SRC-002MYTH
The enslaved Malagasy seized Meermin to become pirates.
Their negotiated demand was return to Madagascar and liberation from captivity.
Sources: SRC-002, SRC-009MYTH
The enslaved people controlled every part of the vessel after the uprising.
Surviving Europeans retained the gunroom, firearms and gunpowder, producing a stalemate.
Sources: SRC-002, SRC-009DOCUMENTED
The surviving crew agreed to sail back to Madagascar.
The truce centered on sparing the surviving Europeans in exchange for a return voyage.
Sources: SRC-002, SRC-009MYTH
The crew actually sailed toward Madagascar.
They secretly navigated toward the Cape.
Sources: SRC-002, SRC-009MYTH
A single deception ended the revolt.
Defeat unfolded through false navigation, loss of the first shore party, bottle messages, deceptive signal fires, grounding and final surrender.
Sources: SRC-009, SRC-010DISPUTED
Exactly 28 enslaved people died.
A modern heritage register gives 28, while a scholarly review of a major reconstruction gives 31.
Sources: SRC-004, SRC-005DISPUTED
Exactly 112 enslaved people survived.
112 follows the 140-minus-28 accounting and appears in later reconstructions, but both the starting population and casualty count are source-variable.
Sources: SRC-005, SRC-010MYTH
Massavana and Koesaaij were freed after the revolt.
Both were confined on Robben Island; Massavana died there and Koesaaij remained imprisoned for roughly two decades.
Sources: SRC-002, SRC-009MYTH
The wreck of Meermin has been definitively identified.
Archaeological surveys have searched likely areas but no secure identification is established in the cited sources.
Sources: SRC-001, SRC-008Documentary reconstruction
Self-liberation, deception and recapture
A case-local editorial visual separates the documented sequence from uncertainty without implying exact modern geography or operational detail.
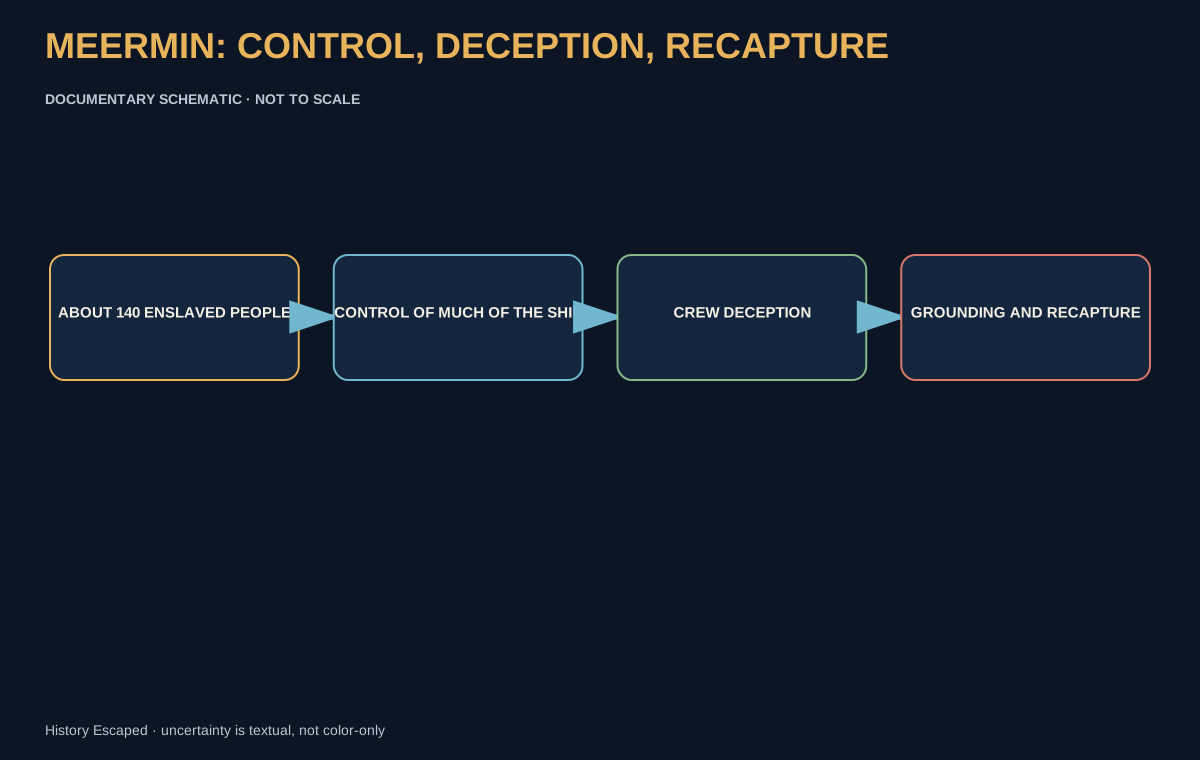

Simplified editorial reconstruction based on the cited historical record; not to scale. Uncertainty is stated directly in the visual and adjacent text.